An at-home diagnostic test is only as good as the sample you provide. Following the instructions carefully is the key to getting a clear, accurate, and reliable result. We've designed ourBeef Allergy Rapid Testto be as simple and user-friendly as possible.
This guide provides a clear, step-by-step protocol to ensure you perform the test correctly and with confidence. After you get your result, you can learn more about what it means by reading our guide oninterpreting your test results.
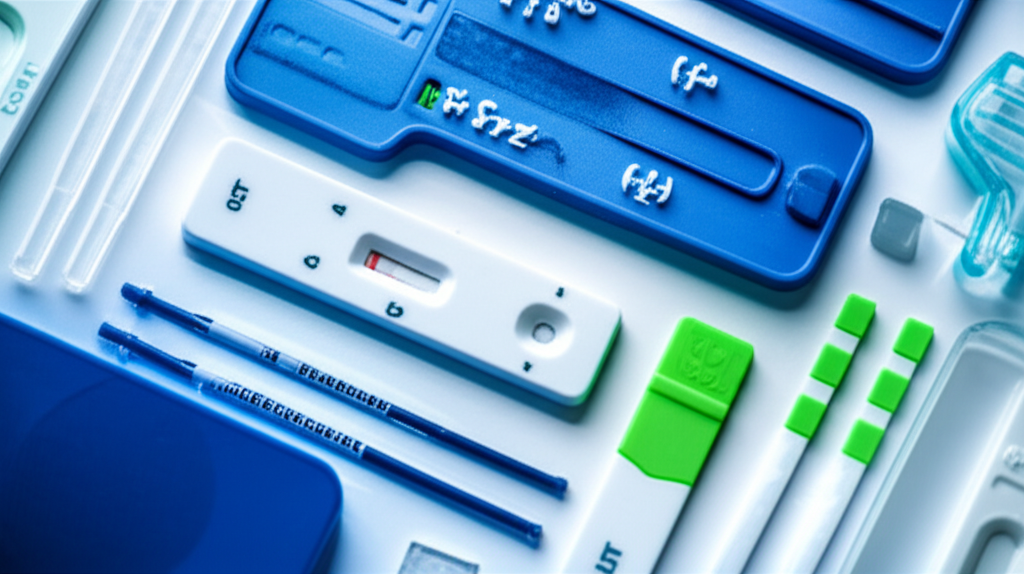
Before You Begin: Prepare Your Kit

Open your test kit and lay out all the components on a clean, flat surface. Your kit should contain:
- 1 Sealed foil pouch containing the test cassette and a desiccant
- 1 Sterile lancet for finger pricking
- 1 Pipette for sample collection
- 1 Buffer solution vial
- 1 Alcohol prep pad
Read all instructions before starting. Do not open the foil pouch until you are ready to begin the test.
Step 1: Prepare the Sample Area
- Wash Your Hands:Wash your hands thoroughly with warm, soapy water. Warm water is important as it helps increase blood flow to your fingertips.
- Choose a Finger:Select a finger for the sample collection, typically the middle or ring finger of your non-dominant hand.
- Clean the Area:Use the provided alcohol prep pad to clean the tip of the chosen finger. Allow it to air dry completely.
Step 2: Collect the Blood Sample

- Twist and Pull the Lancet Cap:Remove the protective cap from the sterile lancet.
- Prick Your Finger:Press the lancet firmly against the side of your fingertip until it clicks. This will create a small, single drop of blood.
- Create a Blood Drop:Gently massage your finger from the base towards the tip to encourage a single, large drop of blood to form.
Step 3: Add the Sample to the Cassette

- Open the Foil Pouch:Open the sealed pouch and remove the test cassette. Place it on the flat surface.
- Use the Pipette:Hold the pipette horizontally and touch the tip to the drop of blood. The pipette will automatically draw up the correct amount of blood.
- Apply to Cassette:Squeeze the bulb of the pipette to dispense the entire blood sample into the sample well (the small, round opening marked "S") on the test cassette.
Step 4: Add the Buffer Solution

- Open the Buffer:Twist the cap off the buffer solution vial.
- Add to Well:Add exactly two (2) drops of the buffer solution into the same sample well (S).
Step 5: Wait for the Results

- Start a Timer:Start a timer for10 minutes.
- Do Not Disturb:Do not move or touch the test cassette during this time.
- Read the Result:Read the result promptly at the 10-minute mark. Do not interpret the result after 15 minutes, as it may become inaccurate.
You've Got Your Result. What's Next?
Congratulations on completing the test! Your next step is to understand what your result means for your health.
Our guide,Interpreting Your Beef Allergy Test Resultswill walk you through what a positive, negative, or inconclusive result means and what you should do next.
If you have any questions about the testing process, please don't hesitate toContact us.
Learn more about our Beef Allergy Rapid Test